How to Prepare Soil for Sod and Avoid a Lumpy Lawn
Learn how to prepare soil for sod, check the grading and topsoil, write a clear installation contract, and fix lumps before they become a lasting lawn problem.
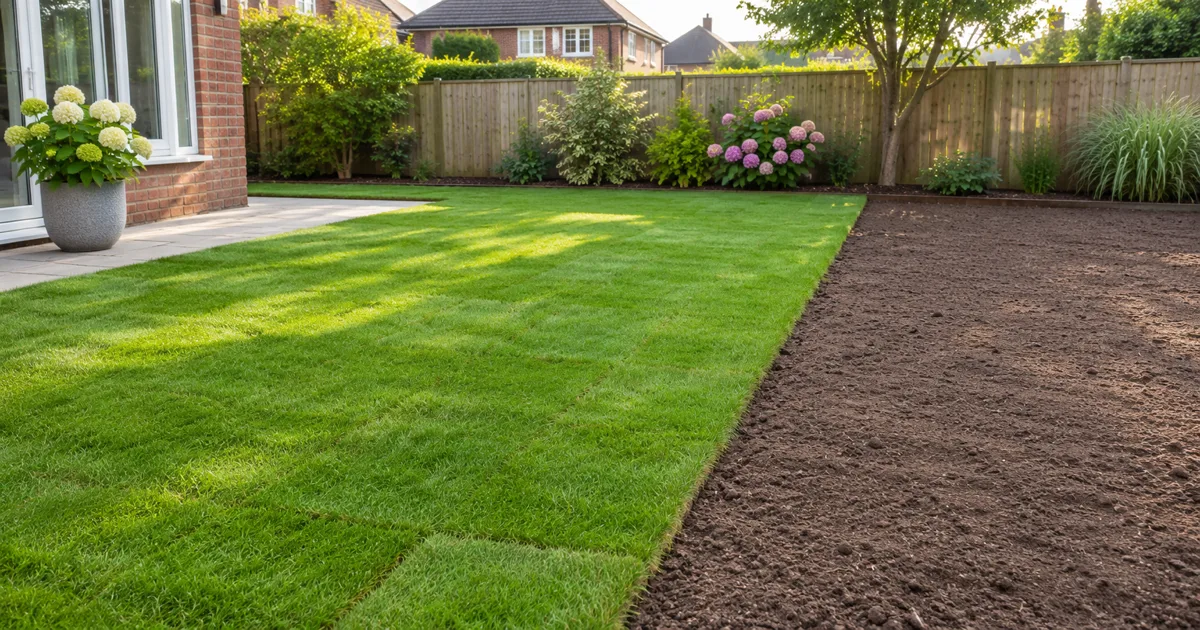
The crew unrolls green sod across your yard, but you can still feel rocks and ridges through it. Stop and check the base before they cover more ground. If you're working out how to prepare soil for sod, the sequence is debris removal, drainage grading, soil improvement, smoothing, and light firming. Lay sod on moist soil, press it into contact, and water immediately. Grass won't correct a poorly prepared base.
How to prepare soil for sod, step by step
Finish construction traffic and underground work before preparing the lawn. Otherwise, the next delivery truck can undo the grading and compact the planting bed. For the larger project sequence, start with planning your new yard.
- Clear the site. Remove old turf, weeds, construction scrap, wood, plastic, strapping, and surface rocks. Break up clods and rake out material that prevents a smooth finish. Don't bury debris beneath imported soil. If weed control requires a product, follow its label's planting restrictions before scheduling sod.
- Set the drainage grade. Shape the ground so surface water travels away from the house toward its intended outlet. Preserve drainage swales, which are deliberately lower channels. Leveling means removing unwanted bumps while keeping the necessary slope. Resolve persistent puddles using suitable backyard drainage solutions before delivery.
- Prepare the rooting layer. Loosen compacted ground and incorporate soil-test recommendations. Penn State Extension specifies at least 4 inches of tillage for most lawn establishments; local soil conditions may call for more. Work moist, crumbly soil. Tilling wet ground damages its structure, and excessive tilling can turn it powdery.
- Rake, firm, and install. Smooth high spots and depressions, then firm lightly so the bed supports you without deep footprints. Leave room beside paving for the sod's thickness. Lightly moisten the surface, fit pieces snugly without stretching or overlapping, and stagger seams. Use a light sod roller to improve contact, then start watering promptly.
Arrange a look at the bare, finished bed before the first roll goes down. You should be able to see the drainage shape and inspect the soil without peeling back a lawn you've already paid to install.
How much topsoil does sod need?
Distinguish the depth of usable soil from the depth of soil delivered. A yard with adequate existing topsoil may need loosening and grading without another truckload. A new construction lawn on compacted subsoil may need substantial improvement before any grass goes down.
For a practical starting specification, prepare at least 4 inches of workable soil. Purdue Extension recommends mixing amendments into the upper 4–6 inches, and University of New Hampshire guidance describes adding 4–6 inches of loam to poor soils. These regional recommendations don't establish one universal topsoil depth for sod. Ask the installer to explain how the existing soil and proposed additions will provide the rooting layer.
Dig inspection holes in several representative places before accepting a proposal. A dark surface dusting can hide hard fill underneath. University of Georgia Extension explains that construction mixes soil horizons and heavy equipment closes the pore spaces roots need.
Order a soil test through your county extension office or its recommended laboratory before buying amendments. Ask for sampling instructions and identify the grass you plan to grow. Routine testing guides pH and nutrient corrections; organic matter or texture may require additional testing. It doesn't reveal buried rubble or certify drainage.
Check imported soil quality too. Utah State Extension warns that purchased topsoil may be no better than what's already there. Ask about texture, debris, and test results. Incorporate a suitable amendment into the existing rooting layer rather than leaving a sharply different material sitting above compacted ground.
Inspect the soil beneath the proposed lawn before agreeing to how much topsoil the contractor will bring.
Before adding several inches across the yard, ask your local grading department about fill and permit limits. Requirements can depend on volume, location, and drainage changes as well as depth. Keep the approved drainage route intact. Our new construction landscaping guide helps put this work in context.
Why does sod laid on a lumpy base stay lumpy?
Sod follows the surface underneath it. A stone holds one patch up; a hollow leaves another patch without firm soil contact. The grass may look uniformly green at delivery because it arrived with living blades and a thin layer of roots and soil.
That initial appearance tells you little about establishment.
University of Georgia Extension emphasizes firm contact between sod and its planting bed so roots can enter the soil. Unsupported edges and gaps are vulnerable to drying. Watering helps keep roots alive, but it doesn't remove a rock or fill a depression. A lumpy sod lawn won't reliably flatten itself as the grass grows.
Some small surface irregularities can be pressed down during installation. Larger humps and hollows require work on the base. If your foot rocks over a ridge or sinks into a void, ask the installer to lift that section and inspect it before choosing a repair.
Don't accept more water as the entire answer to a grading defect. Conversely, don't assume every brown area proves bad grading. Check moisture, soil contact, rooting, and irrigation coverage together. New sod can suffer from both drying and saturation, and the repair depends on what you find.
What should the sod contract say?
A proposal that says only “supply and install sod” leaves too much unresolved. Ask for the preparation work and acceptance checks in writing. The Federal Trade Commission recommends written estimates and contracts that include promised scope, materials, timing, and cost.
Use the following as a scope checklist when comparing bids:
| Work item | What to specify |
|---|---|
| Clearing and grading | Debris and rock removal, correction of humps and hollows, drainage direction, and disposal of unwanted material. |
| Soil preparation | Existing soil assessment, worked depth, imported soil type and finished depth where needed, and soil-test-based amendments. |
| Sod installation | Grass species and cultivar, snug staggered seams, light rolling, and responsibility for the first thorough watering. |
| Establishment care | A written first-two-weeks watering plan, who operates irrigation, moisture checks, weather adjustments, and instructions after rooting begins. |
| Acceptance and replacement | Inspection dates, rooting checks, correction deadlines, payment milestones, and replacement terms for areas that fail. |
Grading and rock removal are essential preparation tasks. Decide who supplies them and include that responsibility in the agreed price. “That costs extra” is a scope gap to settle before signing. A separate grading contractor can be reasonable, provided both proposals identify where responsibility changes hands.
Ask what the warranty excludes and what records you'll need. Who handles an irrigation failure? What happens if sod doesn't root despite following the watering instructions? Specify whether replacement includes correcting the underlying base.
Write the rooting inspection and any agreed final-payment holdback into the contract before installation starts.
Negotiate that holdback in advance under applicable local contract rules; don't assume you can change payment terms afterward. For other omissions that make bids difficult to compare, review these landscaping quote red flags. Where substantial grade changes need a separate plan, compare landscape designer costs before pricing the lawn.
How do you check a sod install before you pay?
Inspect at two stages: installation and rooting. Waiting for roots shouldn't mean postponing a complaint about visible gaps, overlapping seams, or an uneven base.
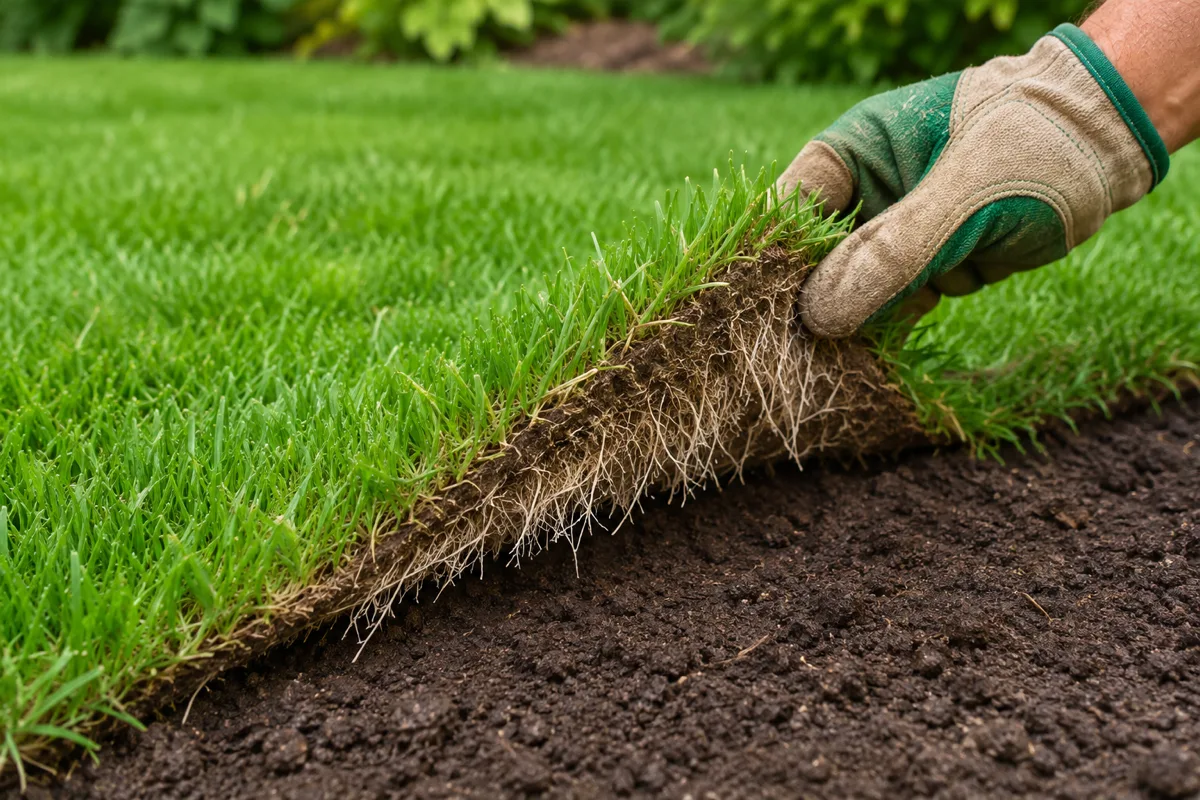
At installation, look along seams for open joints, stretched pieces, and raised edges. Ask the crew to check questionable spots while they're present. Keep traffic minimal; walk only enough for the inspection on firm ground, and stay off saturated areas. Your inspection shouldn't leave ruts.
During initial watering, gently lift a few accessible corners to confirm moisture reaches the soil underneath. Green or wet blades don't establish that the base received water. Check edges and sunny areas as well as the center. Record gaps, puddles, dry soil, and ridges with dated photos.
For rooting, Maryland Extension gives a typical establishment period of 2–3 weeks. Gently tug a corner at several locations. Resistance and young white roots entering the base are encouraging signs. Stop pulling once you feel resistance; don't tear rooted pieces loose. Cold, heat, and unsuitable moisture can delay progress.
If a section still lifts freely, photograph its underside and the base, then ask for diagnosis. Rooting somewhere else in the yard doesn't establish that this area is satisfactory. Resistance also doesn't excuse a drainage defect.
Use the agreed acceptance terms for payment decisions. Our guide to inspecting landscaping work explains how to document problems before the crew leaves.
How do you fix a lumpy lawn?
Choose the repair by whether the sod is newly laid or already rooted. If it was just installed, notify the contractor promptly while sections can still be lifted and the installation is easy to inspect.
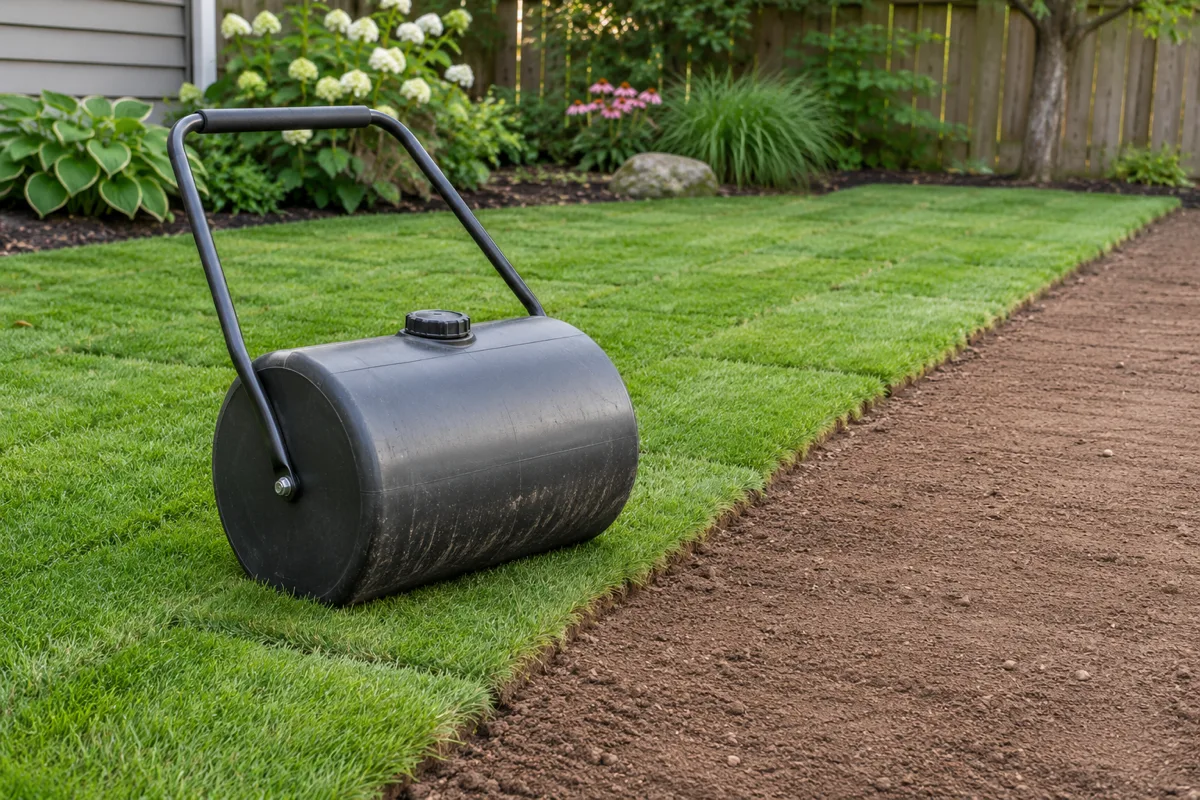
For fresh sod with minor contact problems, maintain moisture through the sod and into the base, then have the installer lightly roll it when the ground supports the equipment. University of Minnesota Extension suggests a roller about one-third full of water for installation. Roller sizes differ, so watch for rutting rather than treating that fraction as a universal weight.
Don't soak the yard to make it easier to flatten. Wet clay is especially vulnerable to compaction. Where a substantial hump, rock, or hollow remains, lift the affected sod, correct and lightly firm the soil, then re-lay and water. Maryland Extension recommends removing turf and regrading for substantial unevenness. Rolling alone cannot make that correction.
For an established lawn, work on shallow low spots gradually during active growth. Missouri Extension describes top-dressing with about ¼–½ inch of compatible soil at a time, leaving at least three-fourths of the grass exposed. Start thin, let the grass grow through, and reassess before another application. Deep depressions need turf removal and base repair rather than burial.
Match the material to your existing soil. Suitable screened topsoil can fill shallow lows; compost may help where a soil assessment shows a need for organic matter. Avoid using pure sand as a general fix for clay. Utah State Extension warns that unsuitable sand-to-clay proportions can produce a dense, difficult material. A specialized sand-based turf program needs its own specification.
Stop rolling if the ground ruts; lift fresh sod over a persistent hump and correct the soil underneath.
Core aeration can relieve compaction and support recovery after the turf is established. It won't change a large elevation difference. Iowa State warns against heavy rolling of bumpy lawns; Missouri reserves light rolling for limited situations such as frost-heaved plants on relatively dry ground. Repeated rolling on soft soil isn't a general method for how to level a lawn.
Sod or seed on a new-build yard?
The sod vs seed decision comes after soil preparation. Oklahoma State Extension specifies the same site preparation for either method. Switching to seed won't make rocky fill or poor drainage suitable for grass.
Choose sod when immediate cover matters and you can fund installation and establishment watering. Seed generally costs less and offers more grass choices, but needs time, moisture, and protection while it develops. An immediately green lawn still needs rooting before regular use.
For a large area, request a hydroseeding quote alongside conventional seeding and sod. Penn State describes hydroseeding as spraying seed, water, fertilizer, and mulch onto a prepared bed, with particular efficiency on large sites and slopes. Surface seed can still dry out, and specialized equipment adds cost. It remains a seeding method with a growing-in period.
Compare complete bids with identical preparation and aftercare. There's no useful universal price without those details. If the budget won't cover the whole yard, price a smaller finished lawn area rather than deleting soil preparation.
Timing matters most for seed: late summer and early fall generally favor cool-season lawns, with spring a second option in regions such as New England. Warm-season lawns need their regional planting window. Ask which grass is proposed before agreeing to a delivery date.
FAQ
Can you lay sod on dirt without topsoil?
Yes, if the existing soil provides a suitable rooting layer and is properly prepared. Imported topsoil isn't automatically necessary. Check depth, compaction, drainage, and soil-test results first; sod over hard builder fill needs more preparation than a surface raking.
How long until sod roots?
Maryland Extension gives a typical range of 2–3 weeks; Minnesota recommends beginning tug checks around 10–14 days. Weather and grass type affect progress. Keep checking soil moisture and ease back watering as roots establish, rather than switching care solely because a date has arrived.
Do you need to roll sod?
Light rolling after installation is commonly recommended to improve soil contact. Keep new sod moist without saturating the base, and avoid heavy equipment or repeated passes. Rolling won't remove buried rocks or correct major humps.
When is the best time to lay sod?
Purdue favors spring or fall for cool-season sod, with fall often preferable; early summer suits actively growing warm-season grasses such as bermudagrass and zoysia. Avoid frozen ground. Dormant-season installation carries added risk, so confirm a local establishment and watering plan before ordering.